To create a new Azure AD tenant:
1. Browse to the Azure portal and sign in with an account that has an Azure subscription.
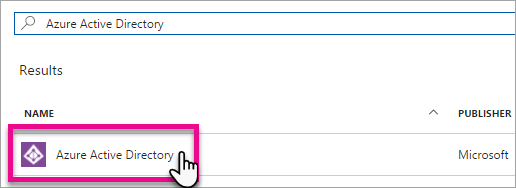
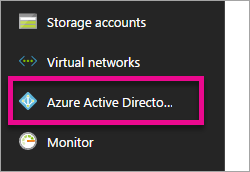
2. Select the plus icon (+) and search for Azure Active Directory.
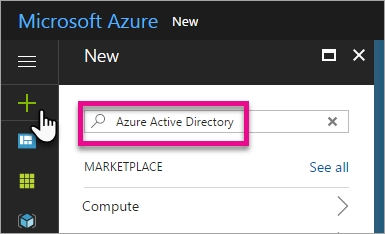
3. Select Azure Active Directory in the search results.
4. Select Create.
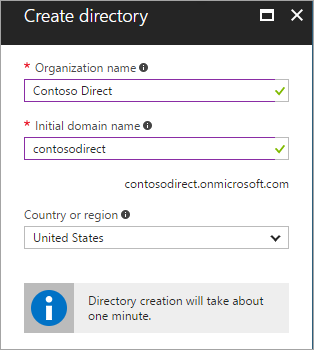
5. Provide an Organization name (12345678) and an Initial domain name (12345678). Then select Create. This will create the directory named
12345678.onmicrosoft.com.
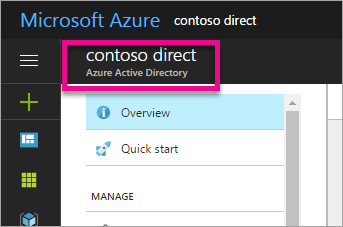
6. After directory creation is complete, select the information box to manage your new directory.
To create the user:
1. In the Azure portal, make sure you are on the Azure Active Directory fly out.
If not, select the Azure Active Directory icon from the left services navigation.

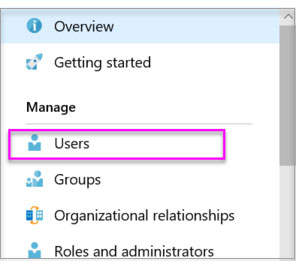
2. Under Manage, select Users.
3. Select All users and then select + New user.
4. Provide a Name and User name (user12345678) for the user. When you're done, select Create.
To enable MFA:
1. In the Azure portal, make sure you are on the Azure Active Directory fly out.

If not, select the Azure Active Directory icon from the left services navigation.
2. Under Manage, select Users.

3. Click on the Multi-Factor Authentication link.
4. Tick the checkbox next to the user's name and click the Enable link.
Reference:
https://docs.microsoft.com/en-us/power-bi/developer/create-an-azure-active-directory-tenant