Part 1: Create a search service search12345678
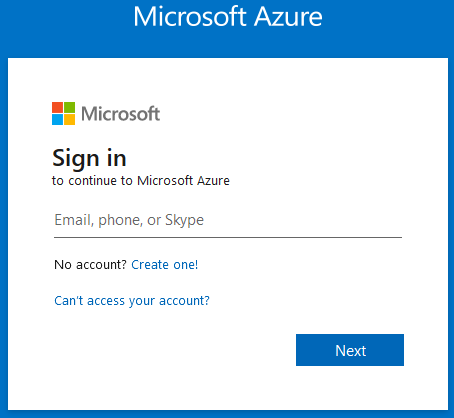
Step 1: Sign in to the QnA portal.
Step 2: Create an Azure Cognitive multi-service resource:
Step 3: On the Create page, provide the following information.
Name: search12345678 -
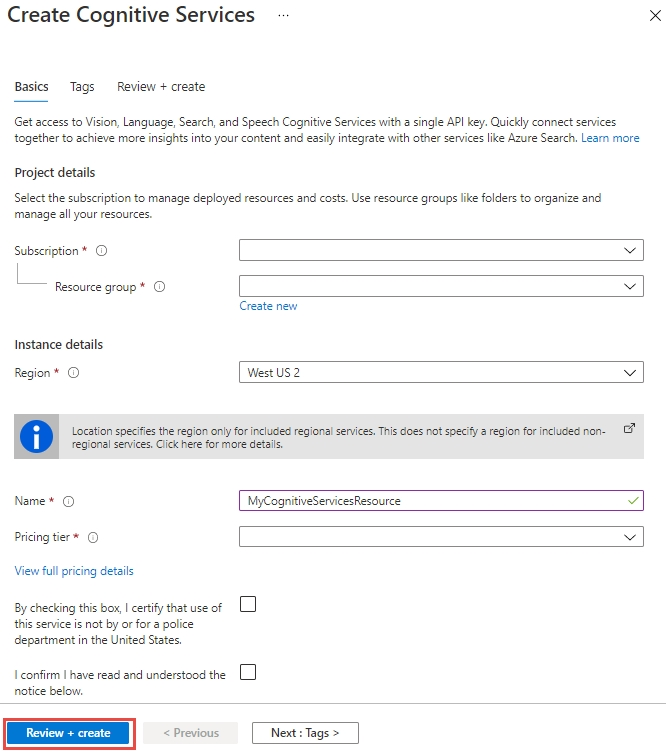
Step 4: Click Review + create -
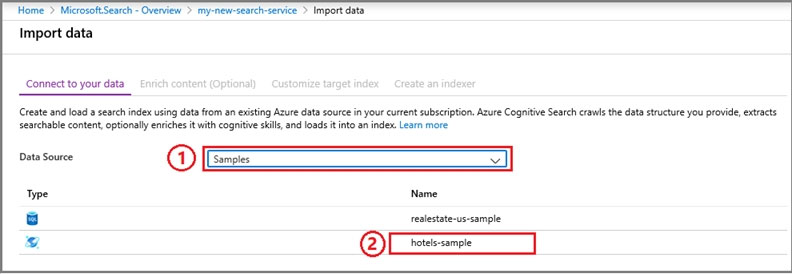
Part 2: Start the Import data wizard and create a data source
Step 5: Click Import data on the command bar to create and populate a search index.

Step 6: In the wizard, click Connect to your data > Samples > hotels-sample. This data source is built-in. If you were creating your own data source, you would need to specify a name, type, and connection information. Once created, it becomes an "existing data source" that can be reused in other import operations.
Step 7: Continue to the next page.
Step 8: Skip the "Enrich content" page
Step 9: Configure index.
Make sure English is selected for the fields.
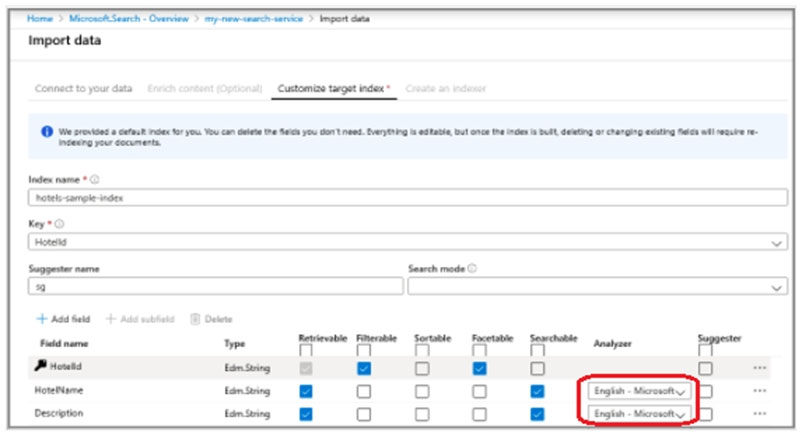
Step 10: Continue and finish the wizard.
Reference:
https://docs.microsoft.com/en-us/azure/cognitive-services/cognitive-services-apis-create-account
https://docs.microsoft.com/en-us/azure/search/search-get-started-portal